Post originally posted May 1, 2015 at http://njhmedia270.blogspot.com/2015/05/3d-printing-part-1-unpacking-and-first.html
3D Printing Part 1: Unpacking and First Print
An exciting moment has arrived at Hopkins North Junior High. I watched virtually as the MakerBot was delivered to the building while I finished up a meeting. Once I had a chance to open the box, all I could do is dream!
In the media center, I rarely have more than a few minutes without distraction. That is the magic of our space. Because of this, the MakerBot went home with me for the weekend. I wanted time to explore, tinker, and fail before unveiling the 3D printer to the masses.
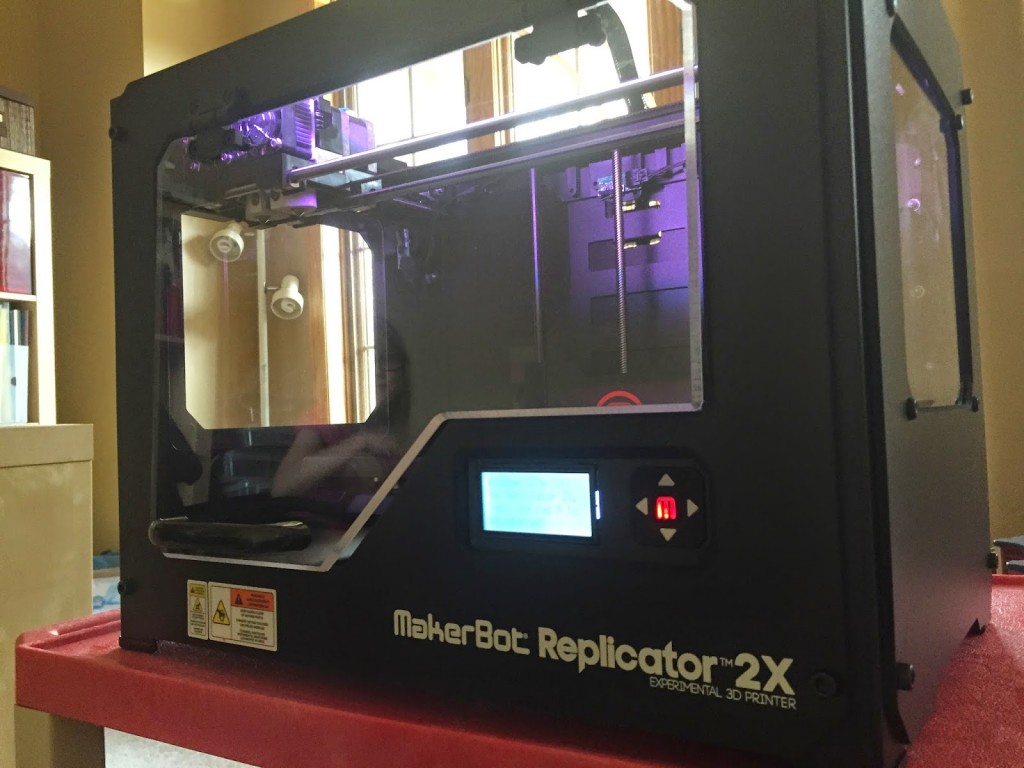
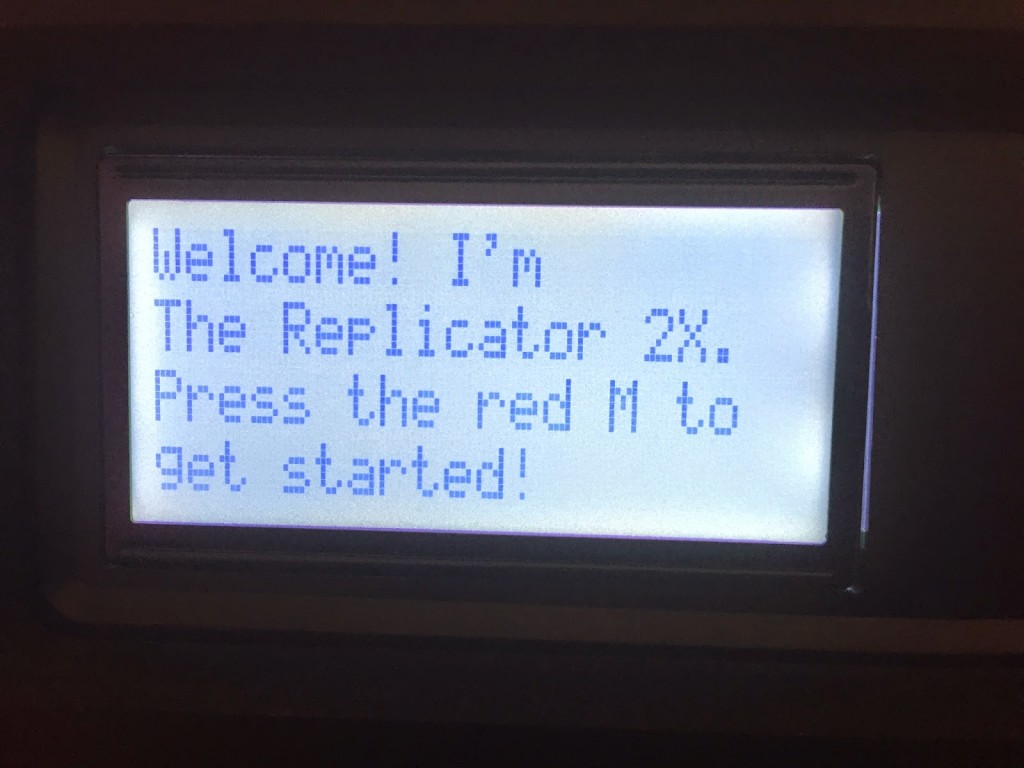
The first night, I started with following the set up directions. I love d the Welcome messages from the Replicator 2X. Let the adventures begin!
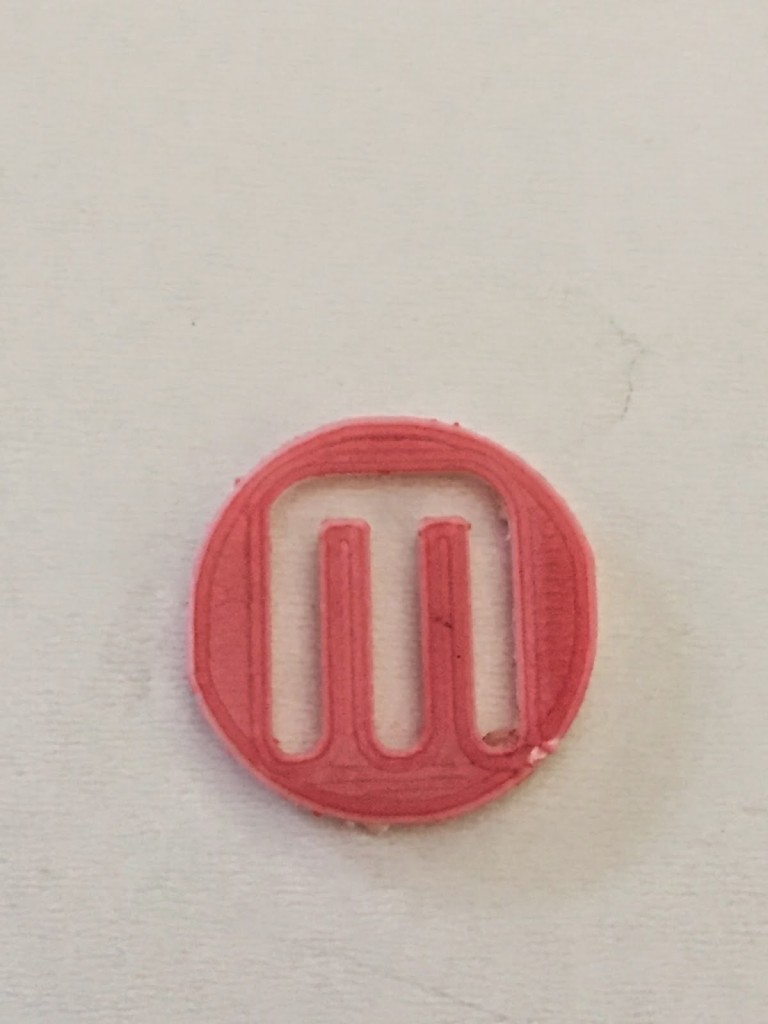
After aligning the extruders, it was time for my first print. The MakerBot came with preloaded designs on the SD card. I chose the MakerBot medallion as the first print. The white filament loaded, and a trace of the red left over from testing, I printed the very first item from the North MakerSpace 3D printer: the M (for MakerBot) Pendant.

Or, at least half of it. The leftover red mixed with the white, but only half of the print was complete. I only had one filament loaded. But, despite half of the image being printed, this was a huge first step into the 3D printing journey.
Follow along as I take North on an exciting journey into the unbelievable possibilities of 3D printing.
Post originally posted May 1, 2015 at http://njhmedia270.blogspot.com/2015/05/3d-printing-part-1-unpacking-and-first.html